There is a wide gap between a self tan that looks like you spent a week somewhere warm and one that looks like you were rolled in gravy. Most of that gap is technique. But the product matters more than people admit, and a few of them are simply orange straight out of the bottle.
So here is what separates the best self tanner from the ones that will betray you, and how to apply either kind so nobody can tell.
Quick Answer: The best self tanner has a green or violet undertone, because that is what cancels orange. Exfoliate the day before, moisturise knees, elbows, ankles and knuckles, then apply with a mitt. Always a mitt. Build gradually instead of going dark in one sitting, because two light layers look real and one heavy layer never does. And know this: fake tan gives you no sun protection whatsoever. Products sold without sunscreen carry a required FDA warning that says exactly that.
As an Amazon Associate I earn from qualifying purchases at no extra cost to you. The £6 mitt on this page will improve your result more than upgrading your tanner will.
What the best self tanner is actually doing to your skin
Almost every formula on the shelf uses DHA, or dihydroxyacetone. The FDA describes it as a colour additive that darkens skin by reacting with amino acids at the surface. That reaction happens in the dead cells on the very top layer, which is why the colour leaves as those cells shed. Five to seven days, give or take.
It is not a dye. Nothing soaks in. Colour starts appearing after about four hours and finishes developing around the 24 hour mark, so what you see in the mirror at bedtime is not what you get.
Here is the part that decides everything. DHA develops warm by default, and the best self tanner counteracts that warmth with a green or violet base tone. Cheap formulas skip it. The warmth then has nothing sitting against it, and on very fair skin, where there is barely any natural colour underneath to absorb the difference, unopposed warmth reads as orange.
Which is why the fix is undertone rather than shade. A tanner labelled “light” with no colour correction in it will still turn you orange, which is why the best self tanner is not always the palest one on the shelf. A “medium” one with violet in the base often will not. People buy lighter and lighter looking for the best self tanner for their skin when the label they should be reading is on the back.
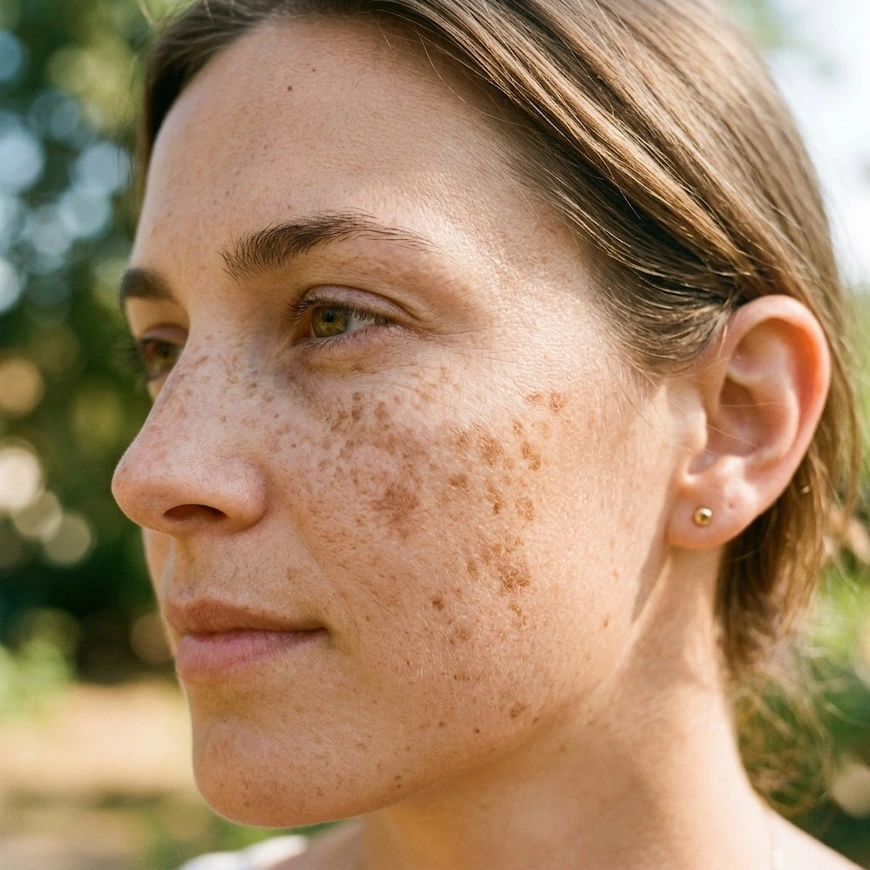
If your skin tone is uneven to start with, tanner will make that more obvious rather than less. Worth sorting the underlying thing first, whether that is fading sun spots or getting your tone even enough to skip foundation.
The bit nobody puts on the front of the box
Even the best self tanner gives you no sun protection at all.
This is not an opinion. It is why any suntanning preparation sold without sunscreen ingredients is legally required to carry a warning on the label, under 21 CFR 740.19. The wording tells you plainly that the product contains no sunscreen, does not protect against sunburn, and that repeated tanning exposure on unprotected skin can raise your risk of skin ageing and skin cancer even if you never burn.
The best self tanner produces colour that looks exactly like a tan, so people start behaving as though they have one. You have exactly the sun sensitivity you had the day before you applied it. The AAD says the same thing from the other direction: if you want to look tan, use a self tanning product and keep wearing sunscreen as normal. Broad spectrum, SPF 30 or higher, water resistant. If yours is a bottle you avoid because it pills or leaves a cast, that is a solvable problem, and the sunscreen roundup covers what works under makeup.
Three more things from the FDA that rarely make it into product marketing.
DHA is approved for external use only. Not lips, not anywhere covered by mucous membrane, and not the eye area, which the regulations define generously: the eyebrow, the skin under the eyebrow, the eyelids and the eyelashes all count. Keep the whole zone clear.
Spray booths have never been approved for all over spray application, because the industry never submitted the safety data for it. The FDA suggests asking a salon whether you will be protected around the eyes, on the lips and mucous membranes, and from inhaling or swallowing the product. If any answer is no, ask for protection before you get in.
And the FDA has had reports of adverse reactions from consumers, including rashes, plus coughing, dizziness and fainting that came mainly from spray booths. The agency is careful to say the cause is uncertain and could involve an individual allergy or something unrelated. Still, an itchy patch that shows up hours after you apply something new is worth taking seriously rather than scrubbing at. Patch test a new tanner on your inner arm, and if your skin is already reactive or stinging from too much exfoliating, sort the barrier before you add anything else to it.
Applying at home sidesteps most of this, which is a decent argument for doing it yourself.
Choosing the best self tanner format for you
The best self tanner for one person is the wrong bottle for another, and it usually comes down to format rather than brand.
| Format | Best for | Watch out for |
|---|---|---|
| Mousse | Most people. Tinted, so you can see where it has gone | Dries fast, so work in sections |
| Drops | Face, and full control over depth | Easy to lose count of drops |
| Gradual lotion | Beginners. Very hard to get wrong | Slow. Several days to build |
| Water or mist | A very light, natural finish | No guide colour, so you apply blind |
| Wipes | Face, travel, touch ups | Streaky across large areas |
If you are very fair, the best self tanner for you is a gradual lotion or a set of drops, built over three days. A dark mousse on pale skin will not look subtle no matter how carefully you apply it, and no amount of buffing fixes a shade that was wrong before it left the bottle.
If your arms or thighs have that rough, bumpy texture, colour will cling to every raised bit and skip the rest. That is keratosis pilaris, and it needs a few weeks of lactic acid rather than a heavier layer of tanner.
The best self tanner picks, and who each one is for
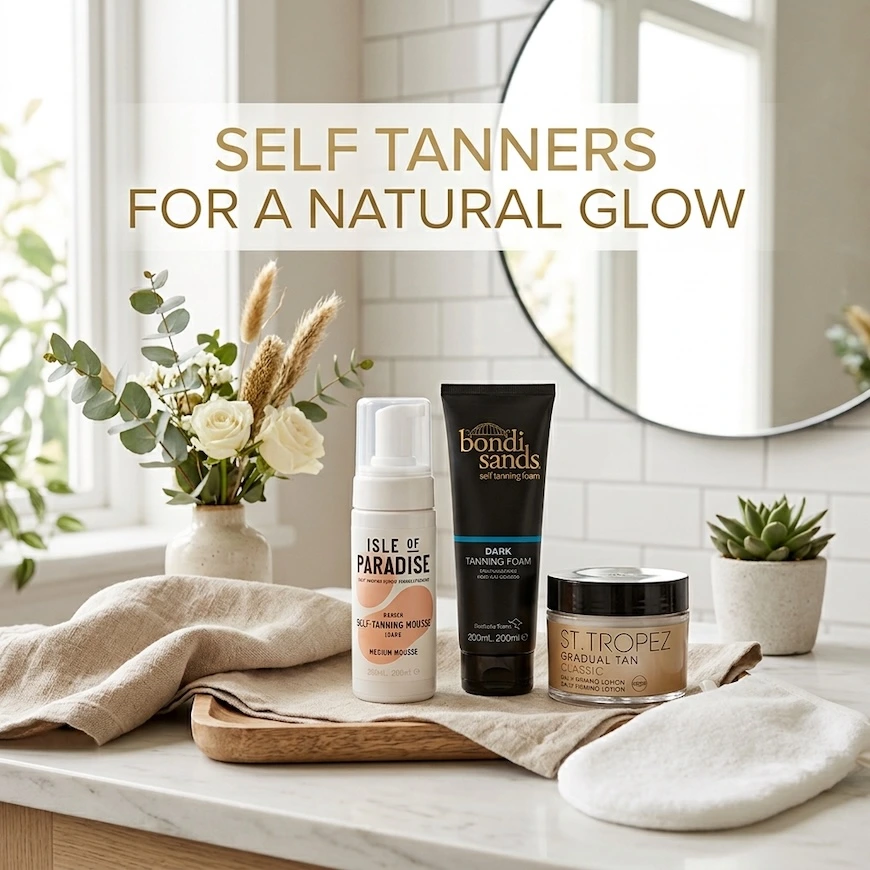
Four bottles and one glove. The best self tanner on this list is not the same bottle for all of you, so read the line under each name before the name itself. The glove costs less than a coffee and will change your result more than any of the four.
Isle of Paradise Self-Tanning Drops
Best for the face, and best if you want control. check on amazon
For faces, the best self tanner is nearly always drops rather than mousse, and these are the clearest example of the undertone principle in practice. The range is built around colour correction, so you choose green, peach or violet based on what you are cancelling rather than how dark you want to end up. You mix the drops into your own moisturiser, which puts the depth entirely in your hands. Two drops is a hint. Six is a fortnight in Greece.
Not for you if you want a finished result tonight without doing any thinking.
St. Tropez Self Tan Classic Bronzing Mousse
Best overall. check on amazon
If someone asks me for the best self tanner without giving me any other information, this is what I say. The benchmark, and it has been for years. The tinted guide colour is the reason: you can see exactly where the product has landed while you are working, which removes most of the guesswork that creates streaks in the first place. Colour develops over four to eight hours and the tone stays believable on medium and olive skin.
Not for you if you are very fair, because the classic depth will read as too much.
Bondi Sands Self Tanning Foam
Best value. check on Amazon
Cheap, everywhere, and reliably decent, which is most of what people want from the best self tanner at this price. It develops warmer than the St. Tropez, which is fine on skin that already has some depth to it and less fine on porcelain. The coconut scent is either the selling point or the dealbreaker, with very little middle ground.
Not for you if you want subtlety more than colour payoff.
Jergens Natural Glow Daily Moisturizer
Best for beginners. check on amazon
The best self tanner for anyone who has been burned before, literally or figuratively. It is a moisturiser with a small amount of DHA in it, so you apply it the way you already apply body lotion and the colour arrives over several days. There is almost no way to streak it, and if you dislike where it is heading you simply stop.
Not for you if you need colour by Friday.
How to apply the best self tanner without streaks
Most of the work with the best self tanner happens before you open the bottle.
The day before
- Exfoliate, but not on the day. Freshly exfoliated skin grabs colour unevenly, so give it 24 hours.
- Shave or wax if you plan to, also the day before. Open follicles take colour and you end up speckled. Same goes for the face, and if facial hair is what you are managing, leave a proper gap between removing it and tanning.
On the day
- Shower and dry off completely. Damp skin dilutes the product.
- No moisturiser on the body, apart from a thin layer on knees, elbows, ankles, knuckles, wrists and heels. Those spots are dry and they take colour twice as dark. This single step prevents most bad results, even with the best self tanner going.
- Mitt on. Not bare hands. A mitt is the difference between even colour and orange palms, and it costs almost nothing. The best self tanner in your bathroom is still going to disappoint you without one.
Any velvet-backed mitt will do the job. Buy two, keep one for applying and one for buffing, and rinse them after every use so last week’s product is not sitting on this week’s skin.
6. Work upward in sections: legs, then torso, then arms. Long sweeping strokes first, then buff in circles.
7. Hands and feet last, using whatever is left on the mitt. Barely anything. Sweep across the back of the hand, then run a damp cloth between your fingers.
8. Face separately, with drops mixed into your moisturiser. Less than you think. Go slowly around the hairline, brows and nostrils.
9. Loose dark clothing. Nothing tight, no bra straps, no leggings.
10. Do not shower for six to eight hours. Overnight is easiest.
Afterwards, moisturise daily to keep the fade even, stay out of long hot baths and chlorinated pools, and pat yourself dry instead of rubbing. A tan on well hydrated skin lasts noticeably longer, and none of that has to be expensive.
How to apply the best self tanner without streaks
Most of the work with the best self tanner happens before you open the bottle.
The day before
- Exfoliate, but not on the day. Freshly exfoliated skin grabs colour unevenly, so give it 24 hours.
- Shave or wax if you plan to, also the day before. Open follicles take colour and you end up speckled. Same goes for the face, and if facial hair is what you are managing, leave a proper gap between removing it and tanning.
On the day
- Shower and dry off completely. Damp skin dilutes the product.
- No moisturiser on the body, apart from a thin layer on knees, elbows, ankles, knuckles, wrists and heels. Those spots are dry and they take colour twice as dark. This single step prevents most bad results, even with the best self tanner going.
- Mitt on. Not bare hands. A mitt is the difference between even colour and orange palms, and it costs almost nothing. The best self tanner in your bathroom is still going to disappoint you without one.
- Work upward in sections: legs, then torso, then arms. Long sweeping strokes first, then buff in circles.
- Hands and feet last, using whatever is left on the mitt. Barely anything. Sweep across the back of the hand, then run a damp cloth between your fingers.
- Face separately, with drops mixed into your moisturiser. Less than you think. Go slowly around the hairline, brows and nostrils.
- Loose dark clothing. Nothing tight, no bra straps, no leggings.
- Do not shower for six to eight hours. Overnight is easiest.
Afterwards, moisturise daily to keep the fade even, stay out of long hot baths and chlorinated pools, and pat yourself dry instead of rubbing. A tan on well hydrated skin lasts noticeably longer, and none of that has to be expensive.
Fixing the best self tanner when it goes wrong
Plenty of people search for a way to strip streaks off, and the answer is not “wait a week.” Even the best self tanner can go badly wrong on dry skin or in a hurry.
For streaks and patches, take an exfoliating mitt with a little oil on it and work over the streak alone. This works best in the first few hours.
If it is too dark everywhere, run a long hot bath and use an exfoliating glove. Baking soda paste helps on the stubborn areas.
For orange palms, lemon juice mixed with sugar and scrubbed in usually lifts it. Whitening toothpaste left on for five minutes is the other common trick, though both are acidic or abrasive enough that I would test a small patch first if your hands are at all sensitive.
Dark knuckles and ankles are the bits you forgot to moisturise. Oil plus an exfoliating mitt, then remember next time. Feet are the same story and people forget them constantly, usually because they are applying at night and cannot see what they are doing past their own knees. If you only rescue two areas, make it hands and feet, because those are the two everybody looks at when they are trying to work out whether your tan is real.
If it is fading patchily, resist reapplying over the top. Exfoliate the whole area back to bare skin and start again, because layering fresh colour over an uneven fade makes it worse every time.
Hi, I’m Marwa ✅
I test skincare, haircare, and makeup on real skin and a real budget, and writes the honest reviews to prove it.