Gel nails have become a popular choice for long-lasting, chip-free manicures. However, when it’s time for a change or maintenance, removing gel nails can be a daunting task. While professional removal is recommended, it’s possible to remove gel nails at home with proper care and technique. In this article, we will provide a detailed step-by-step guide on how to safely and effectively remove gel nails in the comfort of your own home. With the right tools and a little patience, you can achieve a successful gel nail removal without causing damage to your natural nails.
Step 1:
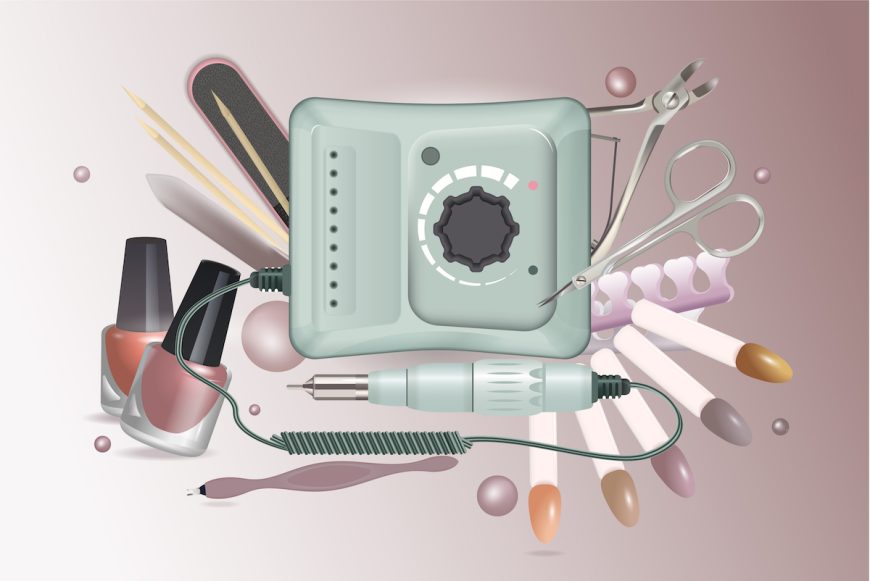
Gather Your Supplies Before you begin, gather the necessary supplies. This includes:
- Acetone: Look for 100% pure acetone, as it is the most effective for gel nail removal.
- Nail file or buffer: Use a gentle nail file or buffer to remove the top shiny layer of the gel.
- Aluminum foil: Cut aluminum foil into small squares that are large enough to wrap around your nails.
- Cotton balls or pads: Soak these in acetone to place on top of your nails.
- Cuticle pusher or orangewood stick: Use this to gently push back the softened gel.
- Nail oil or cuticle oil: Apply this to nourish your nails after the removal process.
Step 2:
Prep Your Nails Begin by lightly buffing the top layer of your gel nails with a nail file or buffer. This step helps break the seal and allows the acetone to penetrate the gel more effectively. Be gentle and avoid filing down to your natural nails.
Step 3:
Immerse a cotton ball or pad in acetone, making sure it is thoroughly saturated but not dripping excessively. Repeat this process for each individual finger, ensuring that each one is similarly treated, and then carefully set them aside.
Step 4:
Apply Acetone-Soaked Cotton Balls Place the acetone-soaked cotton balls on top of each nail, ensuring the cotton covers the entire nail surface. Secure the cotton balls by wrapping each finger with a small piece of aluminum foil. This creates a barrier that traps heat and speeds up the gel removal process.
Step 5:
Take a moment to relax and wait patiently. Allow the acetone-soaked cotton balls, snugly secured with aluminum foil wraps, to rest on your nails for a duration of approximately 10 to 15 minutes. This waiting period is essential as it provides ample time for the acetone to effectively break down and loosen the gel polish, facilitating its removal.
Step 6:
Gently Remove the Gel After the designated time has passed, remove the foil wraps from each finger. Gently apply pressure to the gel nails with a cuticle pusher or orangewood stick to see if the gel starts to lift or slide off. If it resists, re-wrap the nail and wait a few more minutes.
Step 7:
Remove Any Remaining Gel Once the gel has loosened, use the cuticle pusher or orangewood stick to gently scrape away any remaining gel polish. Be careful not to scrape too aggressively to avoid damaging your natural nails.
Step 8:
Nourish Your Nails After successfully removing the gel polish, it’s important to nourish your nails. Apply a small amount of nail oil or cuticle oil to each nail and massage it in. This helps replenish moisture and promotes healthy nail growth.
Step 9:
Post-Removal Care Give your nails a break from gel polish and allow them to breathe and recover. Apply regular nail polish or leave them bare for a few days to a week. Use this time to pamper your nails with regular moisturization and care.
With this step-by-step guide, you can confidently remove gel nails at home. Remember to exercise patience, be gentle with your natural nails, and prioritize nail health throughout the removal process. If you encounter any difficulties or are unsure about any steps, it’s advisable to seek professional assistance. By following these instructions and practicing proper nail care, you can maintain the health and beauty of your nails while enjoying the flexibility of gel nail removal at home.

Hi, I’m Emma R. ✅
Passionate beauty blogger sharing expert tips, honest reviews, and the latest trends to help you glow inside and out.