Quick Answer: The two things that fix most false lash disasters are trimming to fit and waiting for the glue to go tacky. Measure the strip against your lash line, trim from the outer edge, apply a thin line of adhesive, then wait 30–45 seconds until it turns from white to clear and feels sticky rather than wet. Place the centre first, then the outer corner, then the inner. Wet glue is why lashes slide.
I wore false lashes to a wedding once with the strip untrimmed, applied while the glue was still wet, inner corner down first. By the reception one lash was hanging off my face like a dying spider and I spent the speeches holding my eye closed.
Almost everything that goes wrong with how to apply false lashes comes down to three things: the strip is too long, the glue is too wet, or you started at the wrong end. Fix those and the rest is detail.
Here is how to apply false lashes properly, covering strips, magnetics and clusters, plus how to clean them so a $12 pair lasts twenty wears instead of two.
Choose the right lashes first
Half of learning how to apply false lashes is buying the right thing in the first place.
| Type | Best for | Difficulty | Reuses |
|---|---|---|---|
| Strip lashes | Full glam, control over shape | Medium | 15–25 |
| Half / accent strips | Outer-corner lift, natural looks | Easiest | 15–25 |
| Magnetic (with liner) | Beginners, no glue, quick removal | Easiest | 30–50 |
| Lash clusters / DIY extensions | Multi-day wear, most natural | Hard | Single use |
| Individual flares | Custom, gap-filling | Hard | Few |
If you’ve never done this: start with half strips or magnetics. Full strips are the hardest format and everyone hands them to beginners for no good reason.
On band type. A thin, flexible cotton or invisible band conforms to your lash line and hides better. A thick, stiff band fights the curve of your eye and lifts at the corners. It is the single biggest quality difference between a $4 pair and a $12 pair.
On material. Synthetic and faux mink are indistinguishable to almost everyone at conversational distance, and they hold their curl better than real mink. There is no reason to buy animal hair.
How to apply false lashes: strip lashes, step by step
1. Do your eye makeup before you apply false lashes
All of it: shadow, liner, mascara. Applying shadow after the lashes is how you knock them loose, and powder falling onto a fresh lash band ruins the bond.
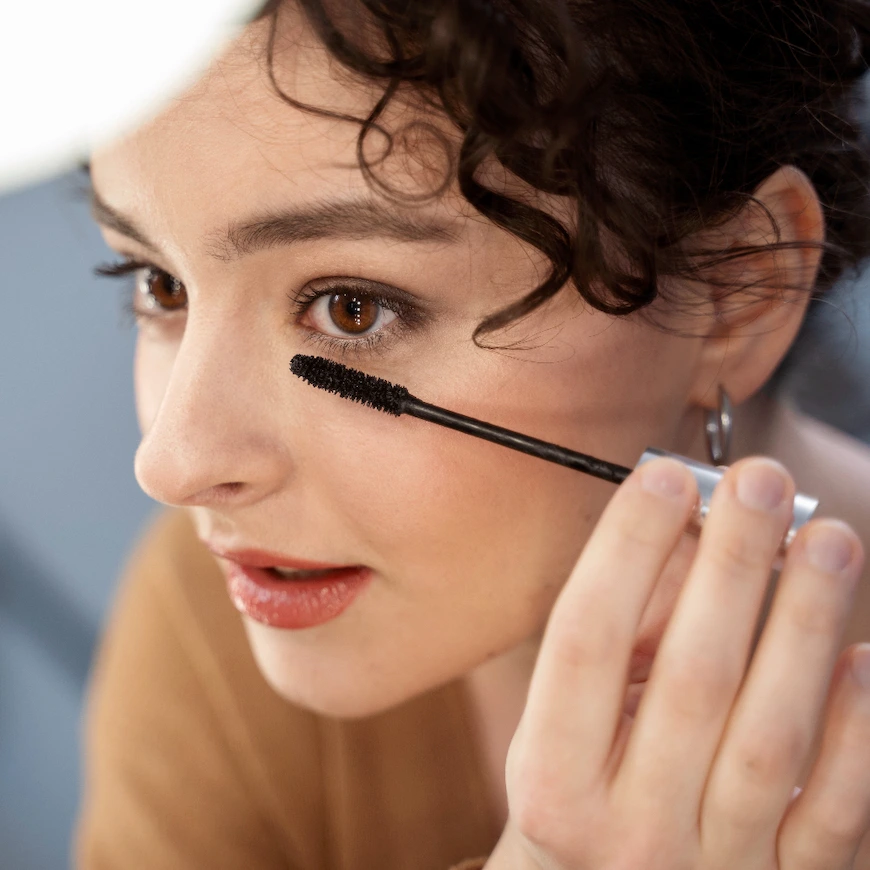
One coat of mascara on your natural lashes gives the falsies something to grip. Curl first, mascara second, lashes third.
2. Trim to fit, and do not skip this
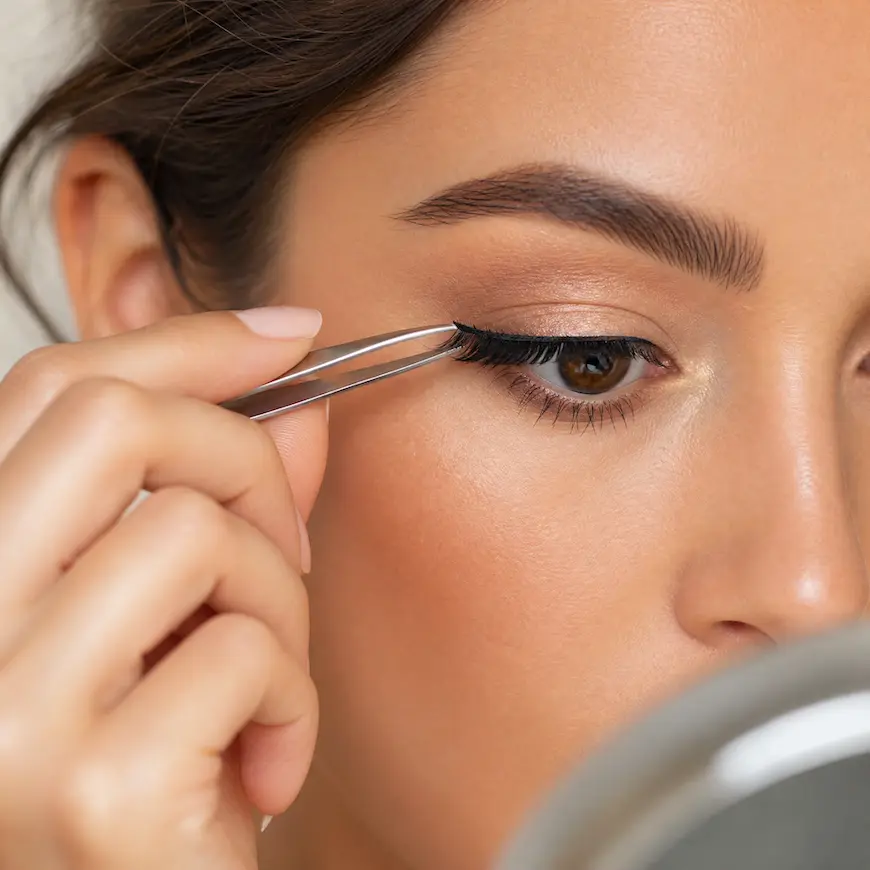
Hold the strip against your lash line, starting a few millimetres in from your inner corner. Whatever hangs past your outer corner comes off.
Always trim from the outer edge, never the inner. The outer end is where the length and drama are built in, and cutting the inner end destroys the taper that makes the lash sit flat.
Most people need to remove 2–4mm. Cut a little, re-check, cut again. Nothing else in how to apply false lashes matters if the strip is the wrong length.
3. Pre-bend the band
Take the strip and gently bend it into a C shape a few times, or wrap it around your finger for ten seconds. Lash bands come out of the packet flat, and your eye is curved. A pre-bent band sits down at both corners instead of lifting.
Thirty seconds, and it is the step most guides on how to apply false lashes leave out entirely.
4. Apply the adhesive: thin line, then wait
Squeeze a thin line along the band. Thicker glue does not hold better. It holds worse, takes longer to set, and squeezes out along your lash line where you can see it.
Then wait 30–45 seconds. The glue needs to go from white and wet to clear and tacky. Test it with a fingertip and it should feel sticky rather than slippery.
This is the single highest-impact instruction in how to apply false lashes. Almost every “my lashes won’t stay on” problem is glue that was still wet.
5. Place: centre, outer, inner
Look down into a mirror held below your face rather than straight ahead, because it exposes the whole lash line.
- Centre. Set the middle of the band as close to your natural lash roots as you can get.
- Outer corner. Press it down and slightly outward.
- Inner corner. Last, and press it down firmly.
Getting this order wrong is the most common failure in how to apply false lashes, because starting at the inner corner is why lashes end up poking the side of your nose and irritating your tear duct. The inner corner is also where the band should sit slightly further from your lash line, because a hair’s width of gap there is comfortable and invisible.
6. Squeeze together and finish
Pinch your natural lashes and the false band together with your fingers or a lash applicator. This merges the two lines so it does not read as two separate rows.
Optional: a thin line of black liner along the band hides any visible glue and the join disappears completely.
Magnetic lashes and lash clusters
Neither of these existed in most guides on how to apply false lashes written five years ago. Both are easier than strips.
Magnetic lashes with magnetic liner
You apply a magnetic eyeliner along your lash line, let it dry fully, then the lash snaps onto it.
The rules that make it work:
- Two thin coats of liner, not one thick one. More magnetic particles means stronger hold.
- Let it dry completely. 60 seconds minimum. Tacky does not work here, the liner must be dry.
- Get the liner as close to the roots as possible. A gap means the lash sits high and looks obviously fake.
- If it will not hold, the answer is almost always another coat of liner.
Why beginners should start here: it is repositionable. Placed it wrong? Lift and re-place. No glue drying on your eyelid, no panic.
Lash clusters (DIY extensions)
Small segments applied under your natural lashes with a bond-and-seal system, worn for 3–7 days.
Be realistic about these. They look the most natural of any option and they are the hardest version of how to apply false lashes. The bond is not regular lash glue, and removal requires a specific remover, because peeling them off takes your natural lashes with them.
If you try them: apply underneath the natural lash, never on the skin. Skin contact is what causes irritation and, over time, damage to the follicle. Give your lashes a break between applications.
Lash glue safety: the part nobody covers
This is eye-area content, so it needs saying properly. No guide on how to apply false lashes is complete without it.
Patch test new adhesive. Put a small dot on your inner forearm and leave it 24 hours. Lash adhesives are a recognised cause of allergic contact dermatitis, and a reaction on your eyelid means swelling, itching, and several unpleasant days.
Know what you’re reacting to. The allergen ophthalmologists actually name is formaldehyde, which some lash adhesives have contained, and the American Academy of Ophthalmology’s eyelash extension facts and safety page flags it directly. Latex appears in some strip glues too and is worth avoiding if you are sensitive, so latex-free is still a sensible default, but formaldehyde is the one with a documented track record of reactions.
Nothing regulates this. The AAO points out that eyelash extensions and their adhesives are not currently regulated by the FDA. Read the ingredient list yourself, because nobody else is checking it for you.
Never use anything not sold as lash adhesive. No nail glue, no craft glue. This should be obvious and yet it needs saying.
Watch the eye itself. The AAO’s guidance is written about professionally applied extensions rather than strip lashes, but the risks carry over: trauma or infection of the eyelid or cornea, allergic reaction to the glue, and temporary or permanent loss of lashes. Their spokesperson makes the point that a sharp object is being used very close to your eye, which is worth remembering when you are rushing with tweezers. The FDA’s eye cosmetic safety guidance is worth reading if you wear contacts.
Stop if your eyelid is red, swollen, itchy or weeping. Remove the lashes, stop using that glue, and see a doctor if it does not settle within a day.
Give your lashes breaks. Daily strip lashes plus daily removal is repeated traction on the natural lash, and sustained traction thins them. If yours look sparser than they used to, that is the cause. If you want to help them recover, my post on lash serums for sensitive eyes covers what actually helps.
How to remove, clean and reuse them
Knowing how to apply false lashes is only half of it. A $12 pair should give you 15–25 wears, and most people get three because they skip this part.
Removal
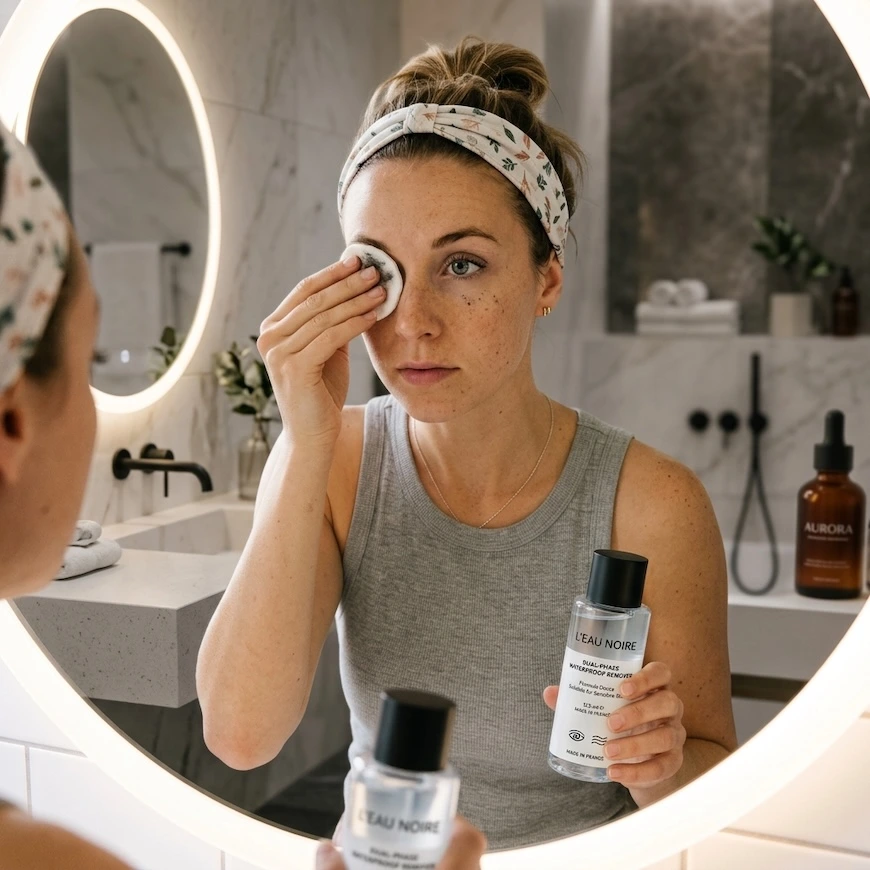
- Soak a cotton pad in oil-free eye makeup remover and hold it against your closed eye for 20 seconds. Let the remover do the work.
- Peel from the outer corner inward, slowly. If it resists, it needs more remover. Never pull hard.
- Take off your eye makeup properly afterwards. Sleeping in mascara and glue residue is how lashes get brittle. There is a gentler method in how to remove waterproof mascara without damaging your lashes, and it is worth reading why makeup wipes are the wrong tool here.
Cleaning
- Peel the glue off the band first with tweezers. Dried glue comes away in one strip if you catch the end, and this alone doubles how many wears you get.
- Dip a cotton bud in micellar water or oil-free remover and run it along the band and through the hairs.
- Rinse briefly under lukewarm water. Don’t submerge them, because soaking dissolves the knots holding the hairs into the band.
- Blot on a towel, reshape the curve with your fingers or a clean spoolie, and lay flat to dry.
Never use oil-based cleansers on lash bands. Oil breaks down the band adhesive and the lash falls apart.
Storage
Back in the original tray, curve intact. If the tray has gone, any small shallow box works. The tray matters because it holds the C shape, and lashes stored flat lose their curve and stop sitting properly.
Bin them when the band is warped, hairs are falling out, or you cannot get the glue off cleanly. Reusing a filthy band is an eye infection waiting to happen.
Fixing the five things that go wrong
The outer corner lifts. The strip was not trimmed, or the band was not pre-bent. Both fixable before you start.
They poke or feel scratchy. Placed too close at the inner corner, or the band is too stiff. Leave a fraction more space at the inner edge.
They slide around. Glue was still wet. Wait the full 30–45 seconds.
You can see the band. Draw a thin line of black liner over it, or buy an invisible-band style.
They look obviously stuck on. The band is sitting above your natural lash roots. Get it right down into the lash line, and squeeze the two together afterwards.
Frequently asked questions
How long should you wait before applying lash glue?
30–45 seconds. The adhesive should turn from white to clear and feel sticky rather than wet. Applying while it is still wet is the most common reason lashes slip and will not stay on.
Do you put mascara on before or after false lashes?
Before. One coat on your natural lashes gives the strip something to grip and helps the two lines blend. Mascara over the false lashes clumps the band and shortens their life.
Are magnetic lashes better than glue?
Easier rather than better. Magnetics are repositionable, faster, and avoid adhesive irritation, which makes them ideal for anyone learning how to apply false lashes. Glue strips give a more customisable fit and sit closer to the lash line.
How many times can you reuse false lashes?
15–25 wears for a good synthetic strip, if you peel the glue off after each use and clean them without soaking. Lash clusters are single-use. Cheap thick-band lashes often warp after five or six.
Do false lashes damage your natural lashes?
Not inherently. Damage comes from pulling them off dry, adhesive allergy, and repeated daily traction. Always remove with an oil-free remover, never tug, and take breaks between wears.
Why do my false lashes hurt at the inner corner?
The band is set too close to your tear duct, or it is too stiff. Trim a little more from the outer edge so the strip starts further in, and leave a small gap at the inner corner.
The bottom line
Trim the strip. Pre-bend the band. Wait for the glue to go tacky. Place centre, outer, inner.
That is most of how to apply false lashes, and if you are starting out, buy half strips or magnetics rather than full strips. The format is doing most of the difficulty, not your skill.
Related: if you would rather skip falsies altogether, I ranked the best mascaras for length and volume after testing more than I care to admit, and several of them get close.

Hi, I’m Marwa ✅
I test skincare, haircare, and makeup on real skin and a real budget, and writes the honest reviews to prove it.