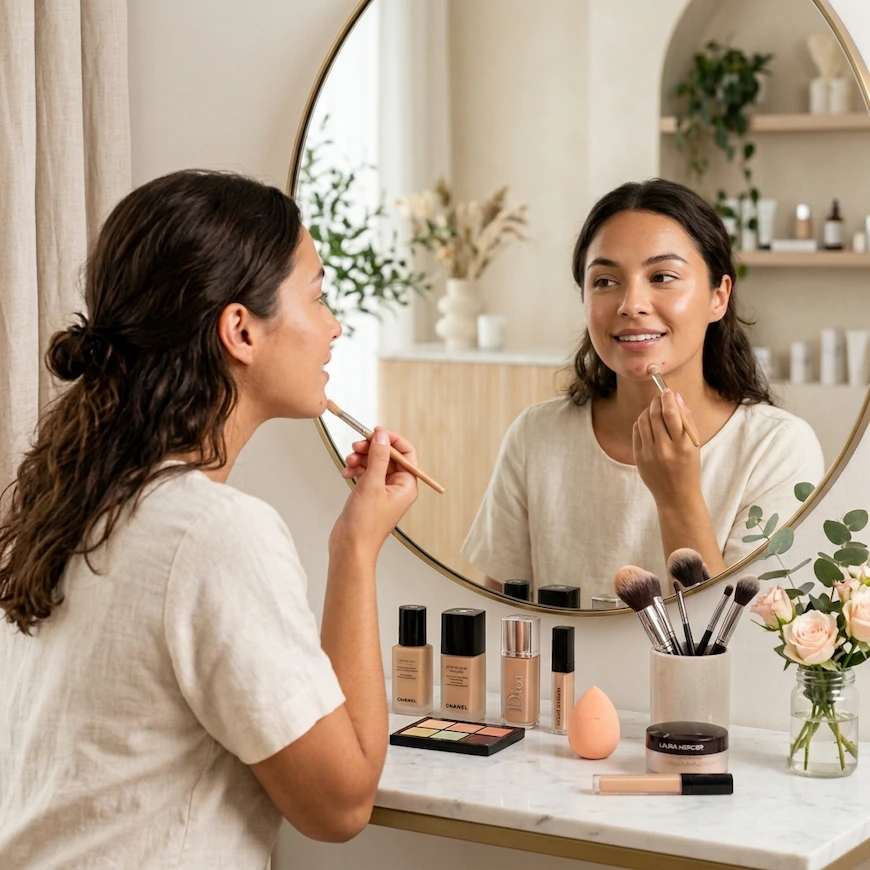
Quick Answer: Concealer covers colour, not texture, and that single fact explains why most attempts to hide blemishes end up looking worse than bare skin. A raised, inflamed pimple is a texture problem. Piling product on it catches light on the raised edge and cakes. To hide blemishes properly, flatten the spot first with a hydrocolloid patch overnight, colour correct the redness with green, then apply concealer with a small brush around the spot rather than on top of it.
For years I tried to hide blemishes by putting more concealer on them. Bigger blob, more coverage, surely. What I actually produced was a pale, slightly crusty mound more noticeable than the red bump underneath, and by lunchtime it had lifted and left a ring.
The thing nobody told me is simple, and it changes everything. Concealer covers colour. It cannot cover texture.
That distinction is the whole basis of how to hide blemishes. A red mark is colour, and concealer handles colour well. A raised, angry spot is texture, and no amount of product flattens a bump. It sits on top, catches light on the raised edge, and announces itself.
So the technique below runs in that order. Flatten what you can, correct the colour, then conceal as little as you can get away with.
Step 1: Deal with texture before you deal with colour
Most guides skip straight to product. If you want to hide blemishes reliably, start here instead.
Hydrocolloid patches
A hydrocolloid patch draws fluid out of a spot that has come to a head and physically flattens it, usually overnight. A flat red mark is easy to hide. Blemishes that stay raised are not, which is the whole problem.
If you have any warning at all, even a few hours, a patch will do more for your makeup than any technique in this article. It is the cheapest way to hide blemishes well, because it removes the part that cannot be covered.
They are an evidence backed tool rather than a trend, and I covered them alongside others worth trying in 7 TikTok skincare trends worth trying.
Do not pick, and do not squeeze
Obvious, and worth stating anyway. Squeezing makes it far harder to hide blemishes, because it turns a coverable spot into a broken, weeping one that makeup cannot sit on, and it is a direct route to a mark that lasts months. The AAD lists picking among the habits that worsen acne.
If the skin is broken, leave it alone
Makeup over an open or weeping spot risks infection and delays healing. Do not try to hide blemishes that have been picked open. Patch it, leave it, cover it tomorrow.
Step 2: Prep the skin
Concealer clings to dry, flaky patches and slides off oily ones. Both make it harder to hide blemishes, and both take about a minute to fix.
Prep is not optional if you want to hide blemishes cleanly. Cleanse gently, without scrubbing over active spots. Moisturise, even if your skin is oily and acne prone, because dehydrated skin makes concealer look patchy. Wait three to five minutes before makeup, since product applied over unabsorbed moisturiser slides. Then sunscreen, then wait again.
One thing to skip: the original version of this article recommended exfoliating first. Do not exfoliate over active breakouts. You will inflame them and give yourself worse texture to cover, which makes it harder to hide blemishes rather than easier. Save it for a clear day.
If you are acne prone, the AAD advises non-comedogenic or oil free makeup and washing your applicators regularly.
Step 3: Colour correct, and halve how much concealer you need
Most people skip this step, and it is the one that does the heavy lifting when you hide blemishes.
The principle is the colour wheel. Opposite colours cancel each other out. Correct the colour first and you can hide blemishes with dramatically less concealer on top, which means less cakiness and better wear through the day.
| Corrector | Cancels | Best for |
|---|---|---|
| Green | Red | Active spots, rosacea, general redness |
| Peach | Blue-grey | Dark circles on fair to medium skin |
| Orange | Deep blue-brown | Dark circles and hyperpigmentation on medium to deep skin |
| Yellow | Purple | Bruising, purple toned under-eyes |
| Lavender | Yellow | Sallowness, dullness |
Use the thinnest possible layer, only on the discoloured area, tapped in with a fingertip or a small brush. Concealer goes over the top.
The most common mistake here is using too much green. A heavy green layer under concealer turns grey. You want a whisper, just enough to neutralise and not enough to see.
You will not always need it. For a faint pink mark, concealer alone is fine. Correctors earn their place when you are trying to hide blemishes that are actively red and angry, and on stubborn under-eye discolouration.
Step 4: Choose the right concealer
Match your skin tone when you hide blemishes. Not lighter. A lighter concealer on a spot creates a pale dot that draws the eye straight to it, which is the exact opposite of what you want. Going lighter is for the under-eye area only, and only by half a shade.
| Concern | What to use |
|---|---|
| Spots and redness | Full coverage, matte, thicker consistency |
| Under-eye circles | Lightweight, hydrating, creamy. Matte creases here |
| Post-acne marks | Medium coverage, buildable |
Using one concealer to hide blemishes and cover under-eyes is the second most common mistake. A thick matte formula creases badly under the eyes. A hydrating under-eye concealer slides straight off a spot.
Look for non-comedogenic and buildable, with a consistency that does not set instantly. You need a few seconds to blend before it locks.
Step 5: Apply around the spot, not on it
This is the technique that changes results most, and it feels wrong the first time. It is also the single biggest thing separating people who can hide blemishes from people who cannot.
To hide blemishes precisely, use a small, dense, flat brush, around 3 to 5mm across. Not a fluffy brush. Not your finger. Precision matters here more than blending power.
- Dot concealer around the edges of the spot, in the ring where redness fades into normal skin. Not on the raised centre.
- Tap, do not sweep. Small pressing motions with the brush or a fingertip. Sweeping drags product off and takes the coverage with it.
- Blend outward only. Feather the edges into the surrounding skin and leave the centre coverage intact.
- Wait 30 seconds, then look again. Most people apply a second layer before the first has settled. It usually does not need one.
- Build only if you must, in thin layers.
Why around and not on: the raised centre already has your skin tone on it. What makes a spot visible is the red halo and the shadow the bump casts. Neutralise the halo and you hide blemishes far more effectively, because the bump mostly disappears. A blob of product on the peak does the opposite. It adds a highlight to the highest point.
This is the shift that made me able to hide blemishes without looking like I was wearing a patch of makeup, and it took me an embarrassingly long time to work out.
For under-eyes, a small inverted triangle from the inner corner down toward the cheek, blended upward and outward. Less than you think.
One more thing about timing. Concealer looks its worst in the first two minutes and settles considerably after five. If you assess your work immediately and start correcting, you will overwork it every time. Do your eyes, do your brows, then come back and look. Nine times out of ten the coverage has evened out on its own and the second layer you were about to apply would have been the thing that ruined it.
Step 6: Set, lightly
Set only where you concealed. The lightest possible dusting of translucent powder, pressed rather than swept, is all you need to hide blemishes and keep them covered. Use a small brush or the tip of a powder puff. Press and lift.
Over-powdering is what turns coverage into cakiness. On a raised spot it emphasises texture, because you are adding a matte, dry surface to something already three dimensional. Use less powder on spots than anywhere else on your face.
If your base tends to break down through the day, that will take your spot coverage with it. How to make foundation last all day covers keeping the whole canvas in place.
Step 7: Redirect attention
The oldest trick in makeup, and it works better than most efforts to hide blemishes outright.
Draw the eye somewhere else. A defined lip or a bit of shimmer on the eyelid will do it. Attention goes to the highest contrast area on a face, and you get to choose where that is. You do not always have to hide blemishes so much as give people something better to look at.
Light structure helps too. Soft definition under the cheekbones and a touch of warmth pulls focus toward the centre of the face. Bronzer vs contour covers how to do that without it reading as heavy makeup.
And nobody is examining your skin as closely as you are. A spot you can see from six inches in a magnifying mirror is invisible at conversational distance.
Common mistakes, in order of how much damage they do
1. Concealer on the raised centre. Adds a highlight to the peak of a bump. Apply around it.
2. Too light a shade. A pale dot is more visible than a red one, so you have not hidden the blemish, you have flagged it.
3. Skipping colour correction on very red spots. You end up using three times the concealer and it still looks pink through.
- Over-powdering. It undoes the work you did to hide blemishes: cakiness, emphasised texture, and it settles into the dry edges of a healing spot.
- Exfoliating or scrubbing before covering. Inflames the area and creates flakes for concealer to cling to.
6. Dirty brushes. Bacteria straight onto broken skin. The AAD lists dirty applicators among the habits that worsen acne. Wash concealer brushes weekly.
7. Not removing it properly at night. Sleeping in full coverage concealer over a spot guarantees a worse spot tomorrow, and makeup wipes are not enough to get it off.
Covering is not the same as treating
Worth saying plainly at the end of an article about concealment.
Everything above is cosmetic. Learning to hide blemishes well is a useful skill and it is not a treatment plan. If you are covering the same breakouts week after week, the more useful work is figuring out why they keep arriving. My guides to what your acne location means and getting rid of stubborn blackheads are the treatment side of this.
If it is persistent, painful, cystic, or leaving marks, that is a dermatologist conversation rather than a concealer one. The AAD notes that acne treatment takes at least 6 to 8 weeks before you see fewer breakouts, which is exactly why starting sooner matters.
Frequently asked questions
Why does concealer make my pimple look worse?
Because concealer covers colour, not texture, and most people try to hide blemishes by adding product on top of the bump. Product piled on a raised spot catches light on the bump and cakes around the edges. Work around the spot to neutralise the red halo instead of building on top of it.
Should concealer be lighter than your skin?
Not when you are trying to hide blemishes. Match your skin tone exactly, or a pale dot will draw attention to the spot. Half a shade lighter is only useful under the eyes.
What colour corrector do I use for a red spot?
Green, every time, if you want to hide blemishes that are actively inflamed. It sits opposite red on the colour wheel and neutralises it. Use the thinnest possible layer, because too much green turns grey under concealer.
Do pimple patches actually work?
They are the best way to hide blemishes before you touch makeup. Hydrocolloid patches draw fluid from a spot that has come to a head and flatten it, usually overnight. A flat spot is far easier to cover than a raised one, so they are worth using the night before.
What brush should I use to hide blemishes?
A small, dense, flat brush around 3 to 5mm, where precision matters more than blending power. For under-eyes, a slightly larger fluffy brush or a damp sponge works better.
How do I cover post-acne dark marks?
These are colour rather than texture, so they cover easily. Peach or orange corrector for medium to deep skin, then a medium coverage concealer. They also fade with sunscreen and consistent treatment, so you will need to hide blemishes like these for less time than you think.
The bottom line
Colour is coverable. Texture is not. Everything about how to hide blemishes properly follows from those two sentences.
To hide blemishes well, flatten what you can with a patch, neutralise the red with a whisper of green, tap a matched concealer around the edges rather than on the peak, and set with barely any powder.
Then get on with your day. The spot you have been staring at in the mirror is not what anyone else sees.

Hi, I’m Marwa ✅
I test skincare, haircare, and makeup on real skin and a real budget, and writes the honest reviews to prove it.